Building my Unraid NAS server
For a while I've been wanted to build my own little Network Attached Storage (NAS) server that would hold my media library. I also wanted a way to automate the discovery and downloading of future media content, which would be relatively easy with the correct choice of operating system.
For my photo storage needs, I've been using Google Photos. I've recently decided to look to other ways of backing up due to the large amount of data mining (and other things I'm not aware of) they're doing over my photos. The server would allow me to have peace of mind my photos are backed up and not have Google's prying overs analysing them.
Choosing the Operating System
There are a number of different NAS operating systems and it took me a while to choose. My main requirements were:
- Have some sort of backup/redundancy mechanism that wouldn't require too many extra hard drives to work
- Have the ability to easily add more HDDs to the array after initial configuration
- Be relatively easy to setup and maintain (have a nice GUI)
- Have support for Docker which in turn would allow me to run: Plex Media Server, Sonarr, Radarr and Deluge
I ending tossing up between two options FreeNAS and Unraid. Here is the list of pros and cons that I took into consideration.
FreeNAS
Pros
- Open Source
- Free
- Faster than UnRAID (in terms of disk read/write)
Cons
- Difficult to add another hard drive to the array
- Difficult to configure different sized HDDs
- Not overly feature rich in terms of Web GUI
- Unable to spin down disk even during inactivity
Unraid
Pros
- Very easy to add another HDD to the array (size must be <= parity disk)
- Comes with a great Docker container management UI
- Great community support for plugins and installation on Lime Tech's forums
- Ability to spin down disks on inactivity (saving $$)
Cons
- Not free - $59 for basic tier
- If the parity drive and another drive die simultaneously, data is unrecoverable
- Slower read/writes than FreeNAS
I elected to go with Unraid mainly because of the great support it had for Docker, ability to easily add HDDs after initial configuration and active community on Lime Tech's forums. I was happy to pay $59 for these features.
Hardware
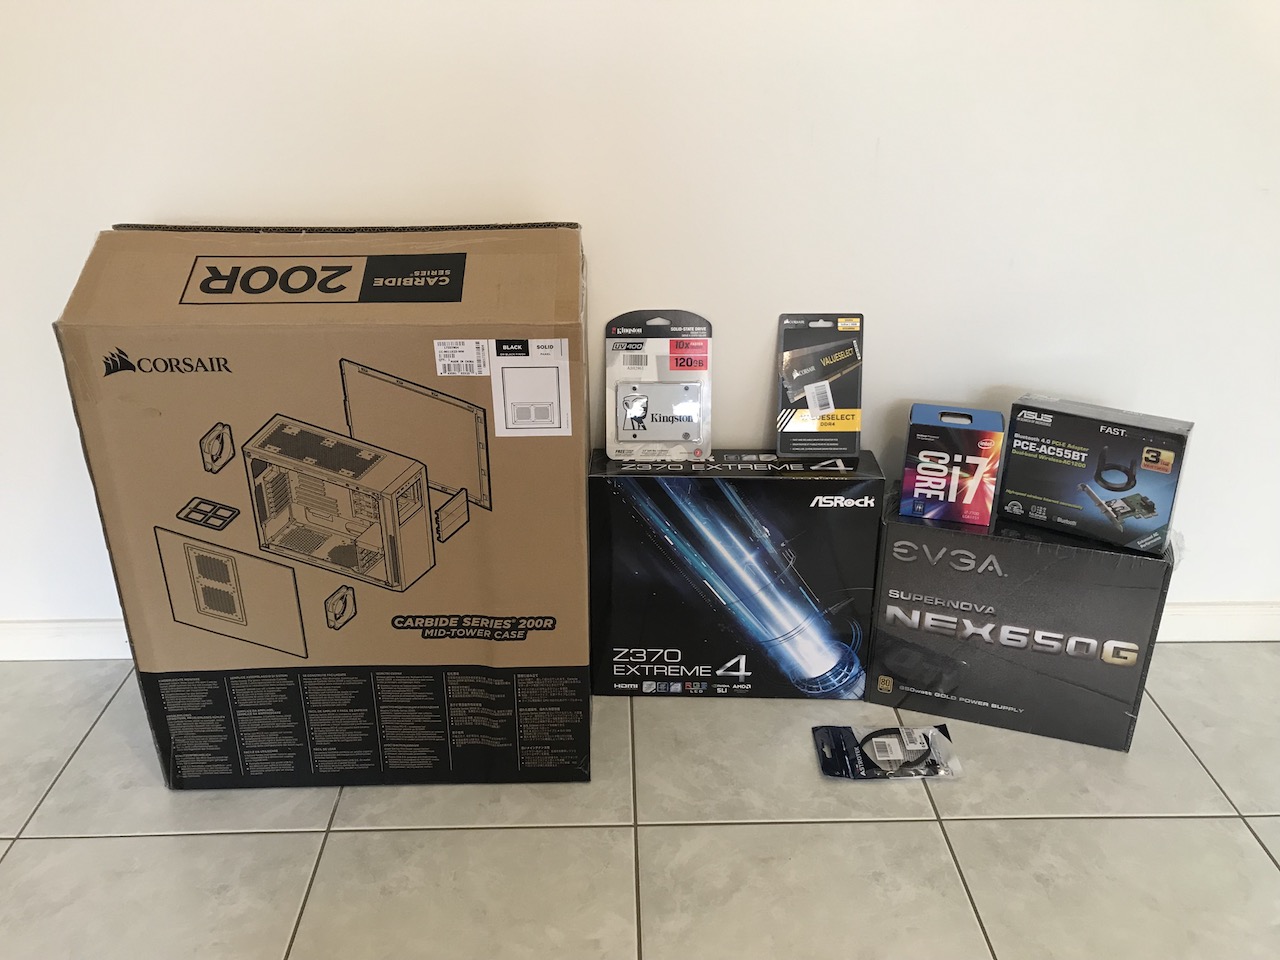
I wanted my NAS to last me a while and I wanted decent parts as a result. I was able to start of the build by grabbing 3 * 4TB hard drives relatively cheap from a deal I spotted on OzBargain. Here's the parts list for my NAS build:
| Component | Name |
|---|---|
| Case | Fractal Design Node 304 Mini-ITX/DTX |
| Motherboard | ASRock H270M-ITX/ac LGA 1151 Mini ITX |
| Processor | Intel Core i3 7100 Dual Core LGA 1151 3.9 GHz CPU |
| Power Supply (PSU) | Corsair CS550M 550W 80+ Gold Semi-Modular Power |
| RAM | Corsair Value Select 8GB (1x 8GB) DDR4 2133MHz |
| Hard Disk Drive | 3 * Seagate ST4000VN008 4TB IronWolf Hard Drive |
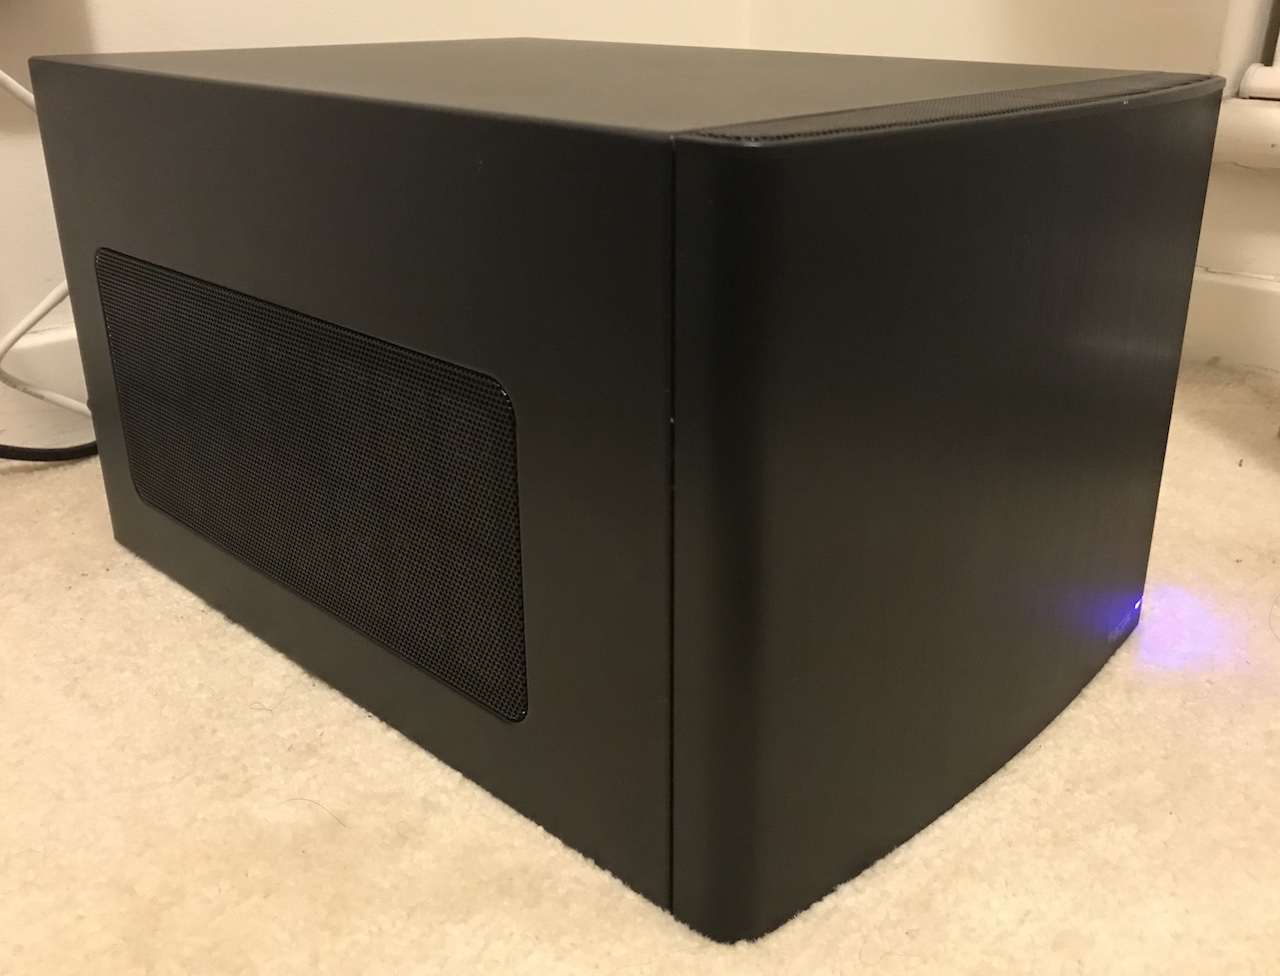
I found that the bulk of my research around my NAS build was choosing the case. I wanted a case that had a small form factor (Mini-ITX) and was able to fit a good amount of HDDs. After doing a bit of research, I was very happy with the Fractal Design Node 304 Mini-ITX/DTX Case. It is very space efficient and despite it's small size, it can fit up to 6 HDDs. A cheaper, smaller (can fit 3 HDDs) case I was considering was the Cooler Master 110 RC.
Installing Unraid
Before installing Unraid, I had to connect the computer to my router via Ethernet - connecting via wireless is not supported by the OS and even if it was, transfer speeds would be incredibly slow.
The first step to installing Unraid was to get the OS on a USB device. Lime Tech recommends using a quality USB as the OS is stored on the USB and the license key is tied to the USBs unique device ID. I didn't have many USBs lying around so I purchased one they recommended: SanDisk Cruser Fit.
Installing the OS onto the USB was simple, just had to download the USB Creator software and run it. After plugging the USB in and turning on the computer, there is a prompt which allows you choose between running in Headless or GUI mode.
Headless is the default which will run and allow you to connect to the web UI on any other device within the network. GUI mode will open up it's desktop which has a terminal and Mozilla Firefox browser (obviously need a monitor attached to see this). Either option works fine, but normal usage would involve running headless mode and connecting to the web UI on another device.
Configuring Unraid
Registering
After I successfully connected to the web UI on another computer by opening up my browsing and navigating to //tower, Unraid prompted me for a username and password. The default username: root and password: BLANK.
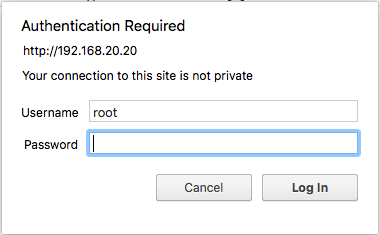
Entering that, I was then presented with the registration page for Unraid. Before proceeding, you must get an Unraid key.
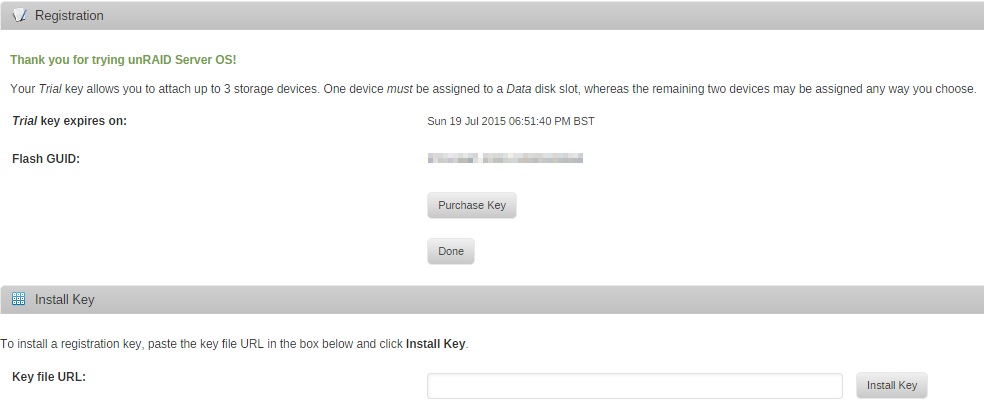
Unraid allows you to try the OS for 30 days by using a Trial key. This involves clicking Get Trial Key, opening your email and entering the key file into the registration page - simple. I elected to go for the trial to start with.
Users
The first thing I did was navigate to the Users tab and add a password to the root user as I'm living with 2 other housemates whom I wouldn't want accessing files on my NAS (or any other guest that connects to our WiFi).
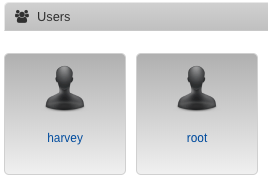
I then created a new user called Harvey. The purpose of creating users is to be able to assign specific read/write permissions to your Shares. For example, I would give myself a Harvey permission which would provide read/write permission to all shares on the server or I might give my friend a Photo permission which will provide read access to the Photo share.
HDD Assignment
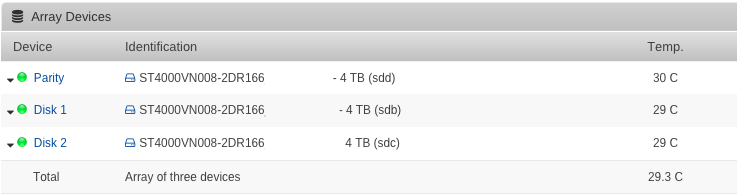
Next, I had to select the HDDs I wanted to act as storage and the HDD I wanted as the parity disk. Navigating to Main I simply selected one of the 4TB HDDs as the parity and two others as Disk 1 and Disk 2.
As all the HDDs I currently have are the same, didn't matter which was chosen first. However, remember that the parity HDD size must be >= each individual HDD size.
Starting the Server
Before starting the server, Unraid highly recommends formatting the drives to make sure they work with the OS. This is achieved by ticking the Format checkbox. Starting the array is a simple as clicking the Start button. The array will then spin up and will be ready to use.
Shares
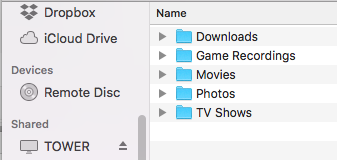
Shares on Unraid can be thought of as folders or directories. You are able to create a number of shares on your NAS, each with their own settings and permissions. To start off with, I created one share called Media. By connecting as the user Harvey I was then able to open this share on my Windows computer and create directories for all my different types of media content. All super easy.

I was able to copy over my media content from my PC/Mac to the server by just dragging them and dropping via the network folder share.
Conclusion
Overall, setting up Unraid was easy! After around a month of using the OS, I do not regret spending $59 on the OS. It has a number of great features, an active, helpful community and was everything I originally needed from an OS for my NAS (and much more!).