Setting up Jenkins on your Docker instance for CI/CD
This is part two of three on how I set up my current server architecture. You can find the first entry here: Hosting Multiple Websites using Docker, Nginx and a VPS.
In this entry, I'll be showing you how to set up Jenkins to automatically build, test and deploy your containerised services/websites to your VPS.
A basic understanding of Continuous Integration/Deployment is required before proceeding. A great article I recommend reading is one from our friends at DigitalOcean: Introduction to Continuous Integration Delivery and Deployment
If you are also unfamiliar with what Jenkins is - I strongly recommend firstly reading up on what Jenkins is. You can find plenty of documentation at the official Jenkins website: Jenkins.io.
Setting up Jenkins
Before we can setup Jenkins, we must configure our DNS to accept a jenkins subdomain route.
Now, we must SSH into our VPS and navigate to where your docker-compose.yml file is located. We will be adding Jenkins to our yaml file now. To do this, add the following under services:
  jenkins:
    restart: always
    image: jenkins
    container_name: harvey-jenkins
    volumes:
    - ./docker/jenkins:/var/jenkins_home
    expose:
    - "50000"
    - "8080"
    environment:
      - VIRTUAL_HOST=jenkins.yourwebsite.com
      - VIRTUAL_PORT=8080
      - LETSENCRYPT_HOST=jenkins.yourwebsite.com
      - LETSENCRYPT_EMAIL=you@youremail.com
This docker-compose entry is doing a few things:
- We're specifying to use the Official Jenkins Docker Image.
- Specifying that all Jenkins related files will be stored on our VPS under
./docker/jenkins. - Opening the 50000, 8080 ports as required by the Jenkins Docker Image.
- Configuring Jenkins with our Nginx/LetsEncrypt services
Now, let's run the modified yaml file to pull the latest Jenkins image, build it and spin it up: sudo docker-compose up --build jenkins.
Bam, we now have our very own Jenkins server running that we can now access at https://jenkins.yourwebsite.com.
Configuration
GitHub
For this tutorial, we will be using GitHub for our source control. We have to set up GitHub to allow Jenkins to use its hooks. Hooks basically allow services (Jenkins in our case) to be notified of any pushes that were made to your GitHub repos. Once notified, Jenkins can then pull the repo and deploy it for us.
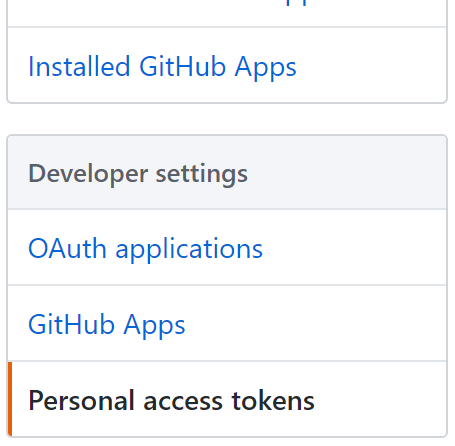
Navigate to your Settings. Then scroll down to Developer Settings and click on Personal Access Tokens.
Click Generate a New Token and enter your password when required.
Enter a Token Description, I would recommend calling it jenkins. Then select the following scopes:
- admin:repo_hook
- gist
- notifications
- repo
Hit Generate Token and then copy the token. Make sure you write it down because you won't be able to access this token again. If you lose it, you will have to generate a new token.
Jenkins
Now that we have installed Jenkins and setup GitHub to use Jenkins, let's configure it! Navigate to your new Jenkins website. The first time you navigate there, you will be asked to create an account. After creating your account, you will be greeted by the Jenkins dashboard!
The first thing we want to do is install a Jenkins plugin called Publish over SSH for our CD/CI pipeline. To install this plugin, navigate to Manage Jenkins which is located on the left side-menu. Then click on Manage Plugins. Click on the Available tab and in the top right search bar - type ssh. Look for the Publish over SSH plugin, check it and click install.
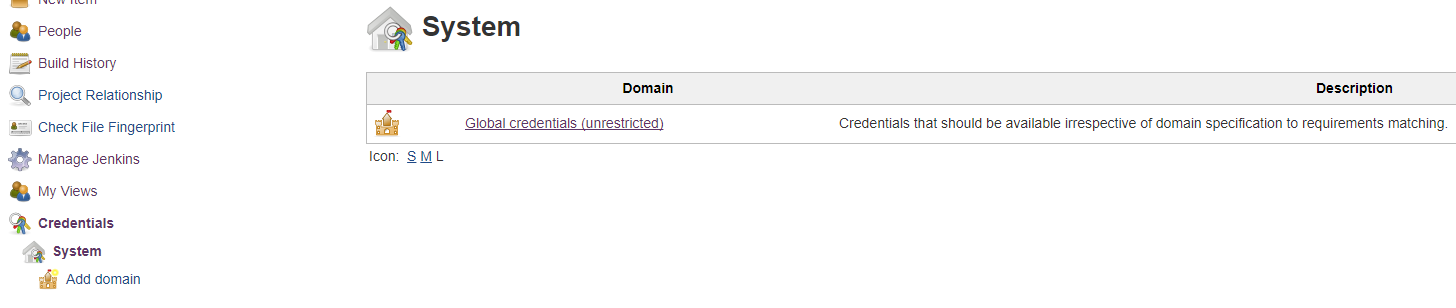
After the plugin is installed, we need to add the GitHub hook credentials we created earlier. Click on Credentials in the side menu. Then under Credentials click System and then on the main page select Global Credentials.
Click Add Credentials which is located on the left side. Do the following:
- Set Kind to be Secret Text
- Add your GitHub token under Secret
- Add an ID to your credential. ie. GitHub
- Add a description (optional)
Then click OK.
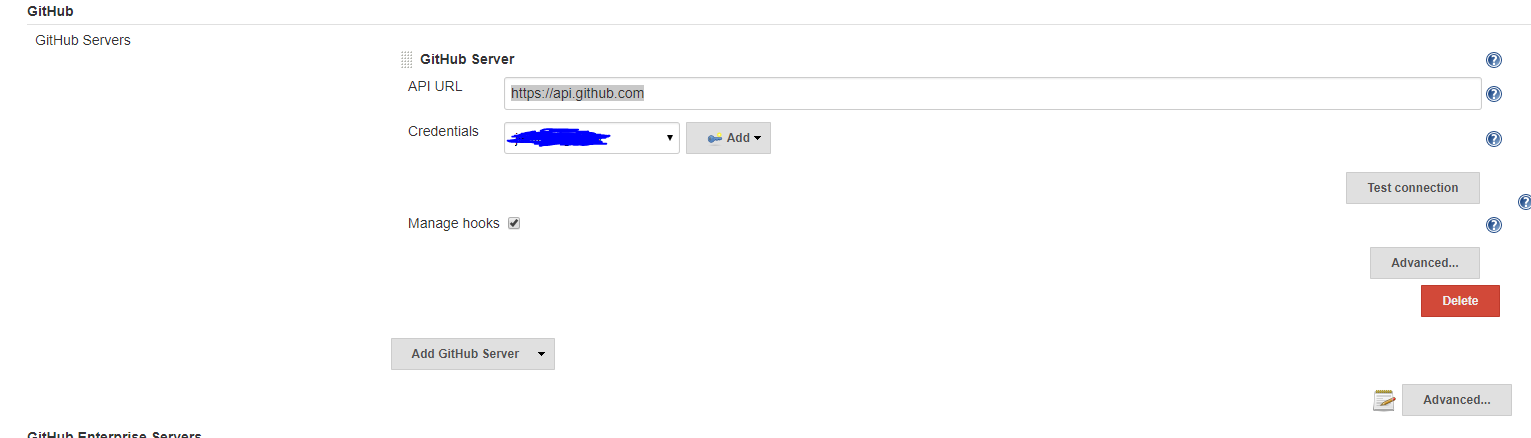
After our credential is created, we can now configure the GitHub plugin (which should come with the Jenkins Docker Image by default).
Navigate to Manage Jenkins then Configure System. Look for the GitHub heading and set the API URL to https://api.github.com. Select your newly created credentials under Credentials and make sure that Manage Hooks is checked. To be sure everything is set up correctly, hit the Test Connection button.
Now, we have to generate a new SSH keypair for the Jenkins server to use. This will allow Jenkins to SSH into our server and perform test, build and deploy steps for our services/websites.
On your VPS, create a new user named jenkins by entering adduser jenkins. Make sure you're switched to the jenkins user by typing whoami. Then type ssh-keygen. Go through the steps to generate your new keypair.
We need to copy over the private key for Jenkins to use. cat ~/.ssh/id_rsa. Copy this private key into the Publish over SSH plugin in Jenkins. If you created a passphrase for the key, enter it in Passphrase.
Under SSH Servers enter the your server's SSH address, the user you want to log in as (jenkins) and the directory you want to default at when Jenkins SSH'es in. Click Test Configuration and hopefully everything works.
Adding a project to your pipeline
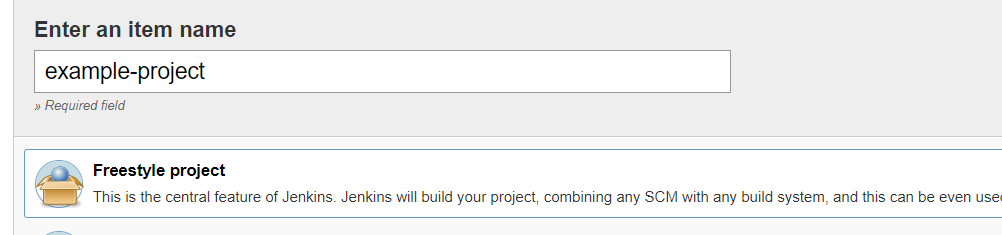
Now that's everything is configured. All that's let to do is add our projects to our Jenkins configuration! To do this, click New Item on the left menu. Enter your project name and click Freestyle Project.
Under Source Code Management, select Git. Under repository URL, enter the url of your GitHub project, for example: git@github.com:HarveyD/example-project.git. And then select the GitHub credentials we created earlier.
Under Build Triggers, select GitHub hook trigger for GITScm polling. This will allow Jenkins to be notified of any push that occurs to our repository!
All that's left to do, is to add a build step. However, this won't be covered in this entry - head on over to the third and final entry to learn how to add the build, test and deploy steps for our project.
Conclusion
By setting up our Jenkins service, we saw how easy it is to get additional services on our new Docker/Nginx/LetsEncrypt VPS. We also now able to deploy new services/websites at a much higher velocity for rapid development!
Next up, we will be learning how to create a simple NodeJS/Express and integrate it with Docker and be configure it with our Jenkins setup.