Setting up PiHole on your Unraid Server
I've been using the uBlock extension for quite a while now for surfing the web on my computer. It's been perfect and I haven't seen ads for a very long time. Recently, I've started to watch a bit of content (YouTube) on my iPhone and have been a bit annoyed by the amount of ads I have to endure.
I've heard a lot of great things about PiHole and wanted to set it up for my iPhone. It basically acts as a network wide ad filter that has very minimal setup.
It was designed to be run on a Raspberry Pi, but it's Docker Image works just as well (and much easier to setup).
I don't have a Raspberry Pi, but I do have an Unraid server (read more about how I set it up here) which turns out to be an excellent candidate for running a Dockerised version of PiHole on.
Installing Community Applications
The first step is to install the Commuinity Applications plugin on your Unraid server. Follow the steps here if you haven't already got the plugin.
Installing the PiHole Docker Container
Go to the Commuinity Applications plugin, and then search PiHole. There should only be one result:
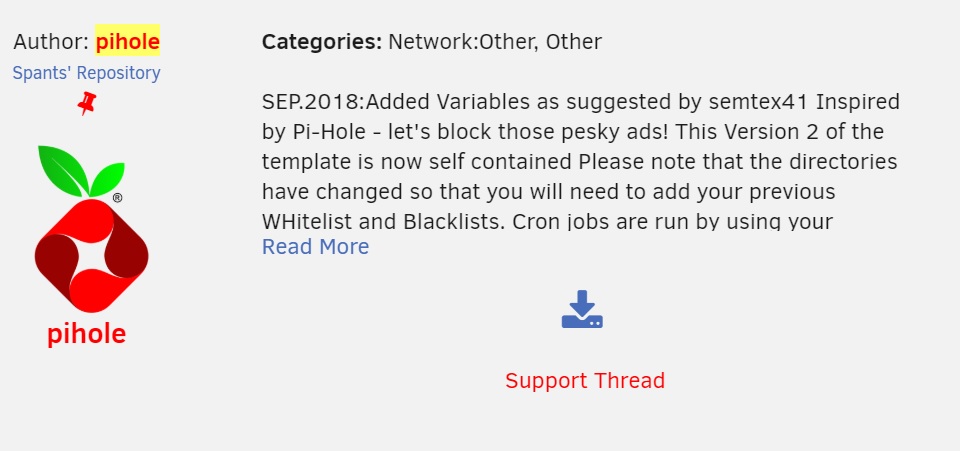
Click Install and you'll be taken to a configuration page for the PiHole Docker container:
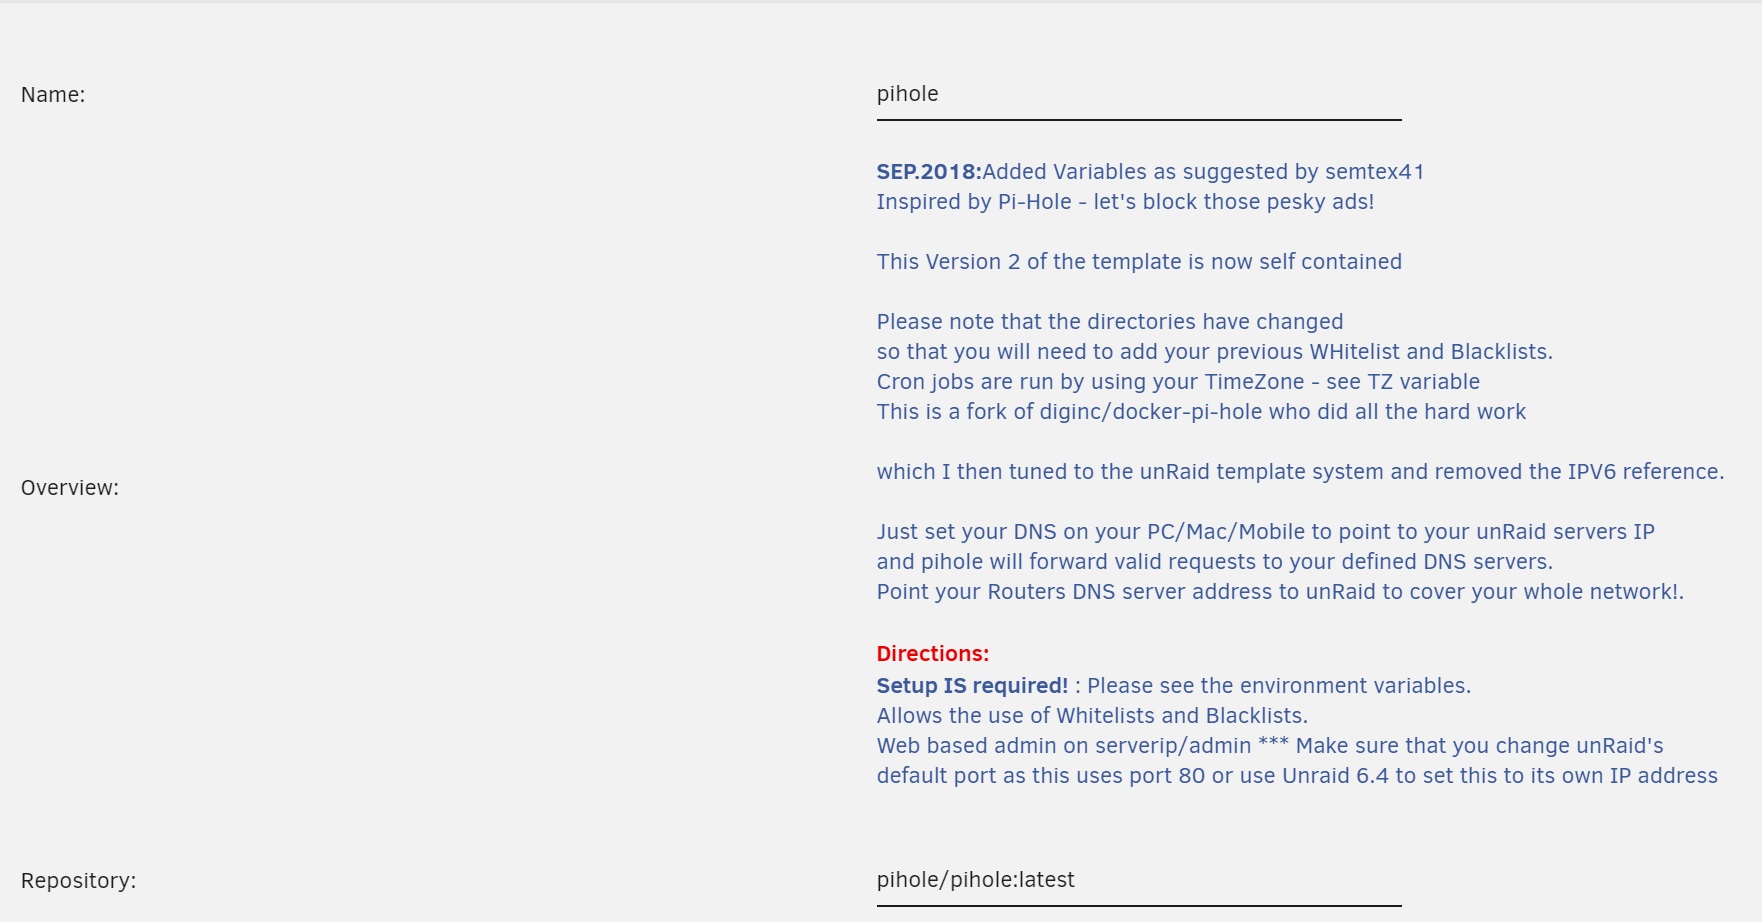
You'll need to change a few settings before creating the container. First change the Network Type to be Custom. An extra field called Fixed IP Address (optional) should have appeared, put a static IP address that exists on your subnet for the PiHole container to run on. This is important as PiHole can't be run on a port other than 80 and therefore needs it's only static IP Address:

Next, look for the Container Variable: ServerIP (Key 3:). Update the value to be the static IP address you assigned before:

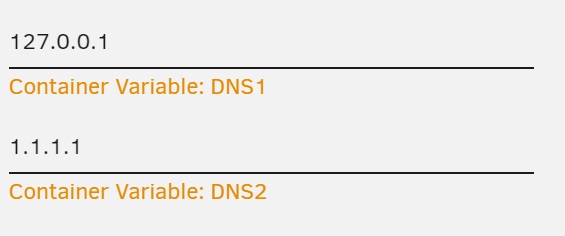
Now look for the Container Variable: DNS1 and set that to 127.0.0.1 and Container Variable: DNS2 and set that to 1.1.1.1:
Finally, update the Container Variable: TZ variable to match your timezone, you can find a list of timezones here:

Now click Apply. The Docker image will then get pulled and the settings will be applied (hopefully successfully):

Now go to your Docker containers and you should see your new PiHole container running:

Click on it and it should open your PiHole web interface (http://static-ip-address/admin) in a new tab:
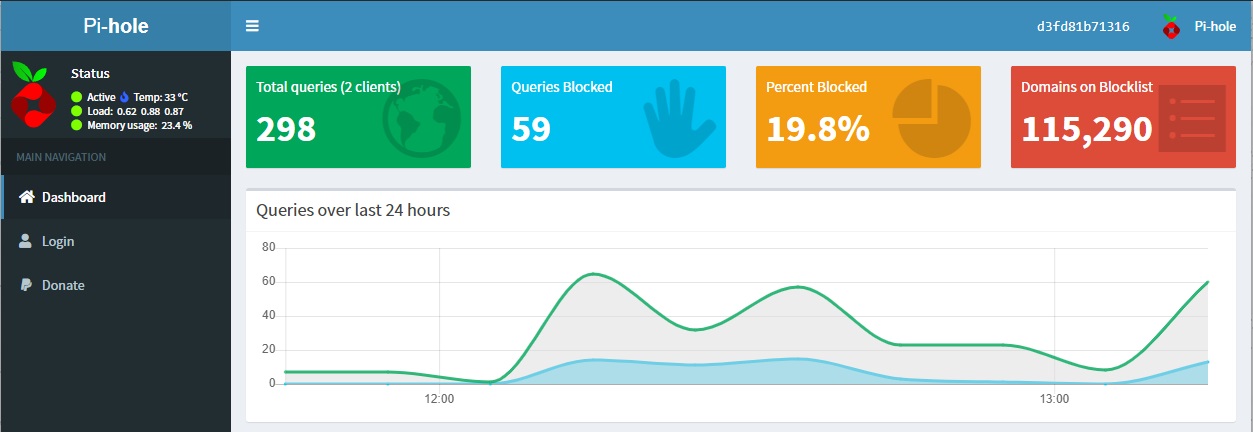
Adjusting PiHole Settings
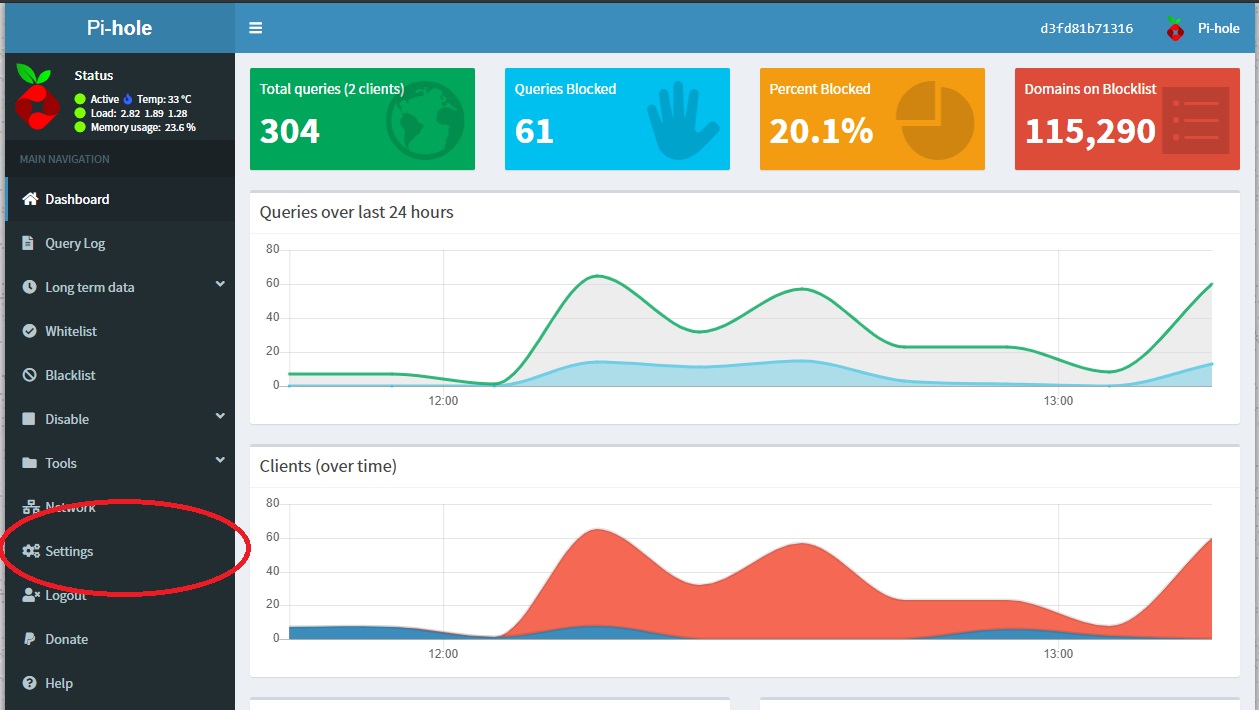
In your PiHole web interface, click Login and enter admin as the password. You'll be redirected back to the dashboard with more options on the sidebar. Click Settings:
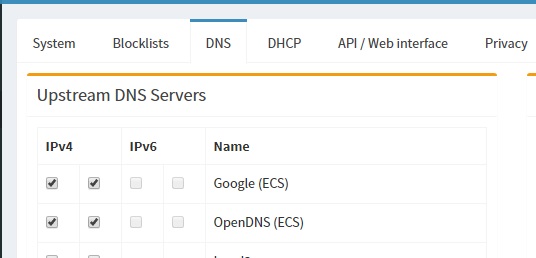
Go to the DNS tab and then check Google (ECS) and OpenDNS (ECS) or any other upstream DNS servers you want:
That's it! You have now setup PiHole on your UnRaid server.
Updating DNS settings on your iPhone to use PiHole
To use your new PiHole DNS server on your iPhone, go to Settings -> Wi-Fi -> YOUR_WIFI_NETWORK -> Configure DNS:
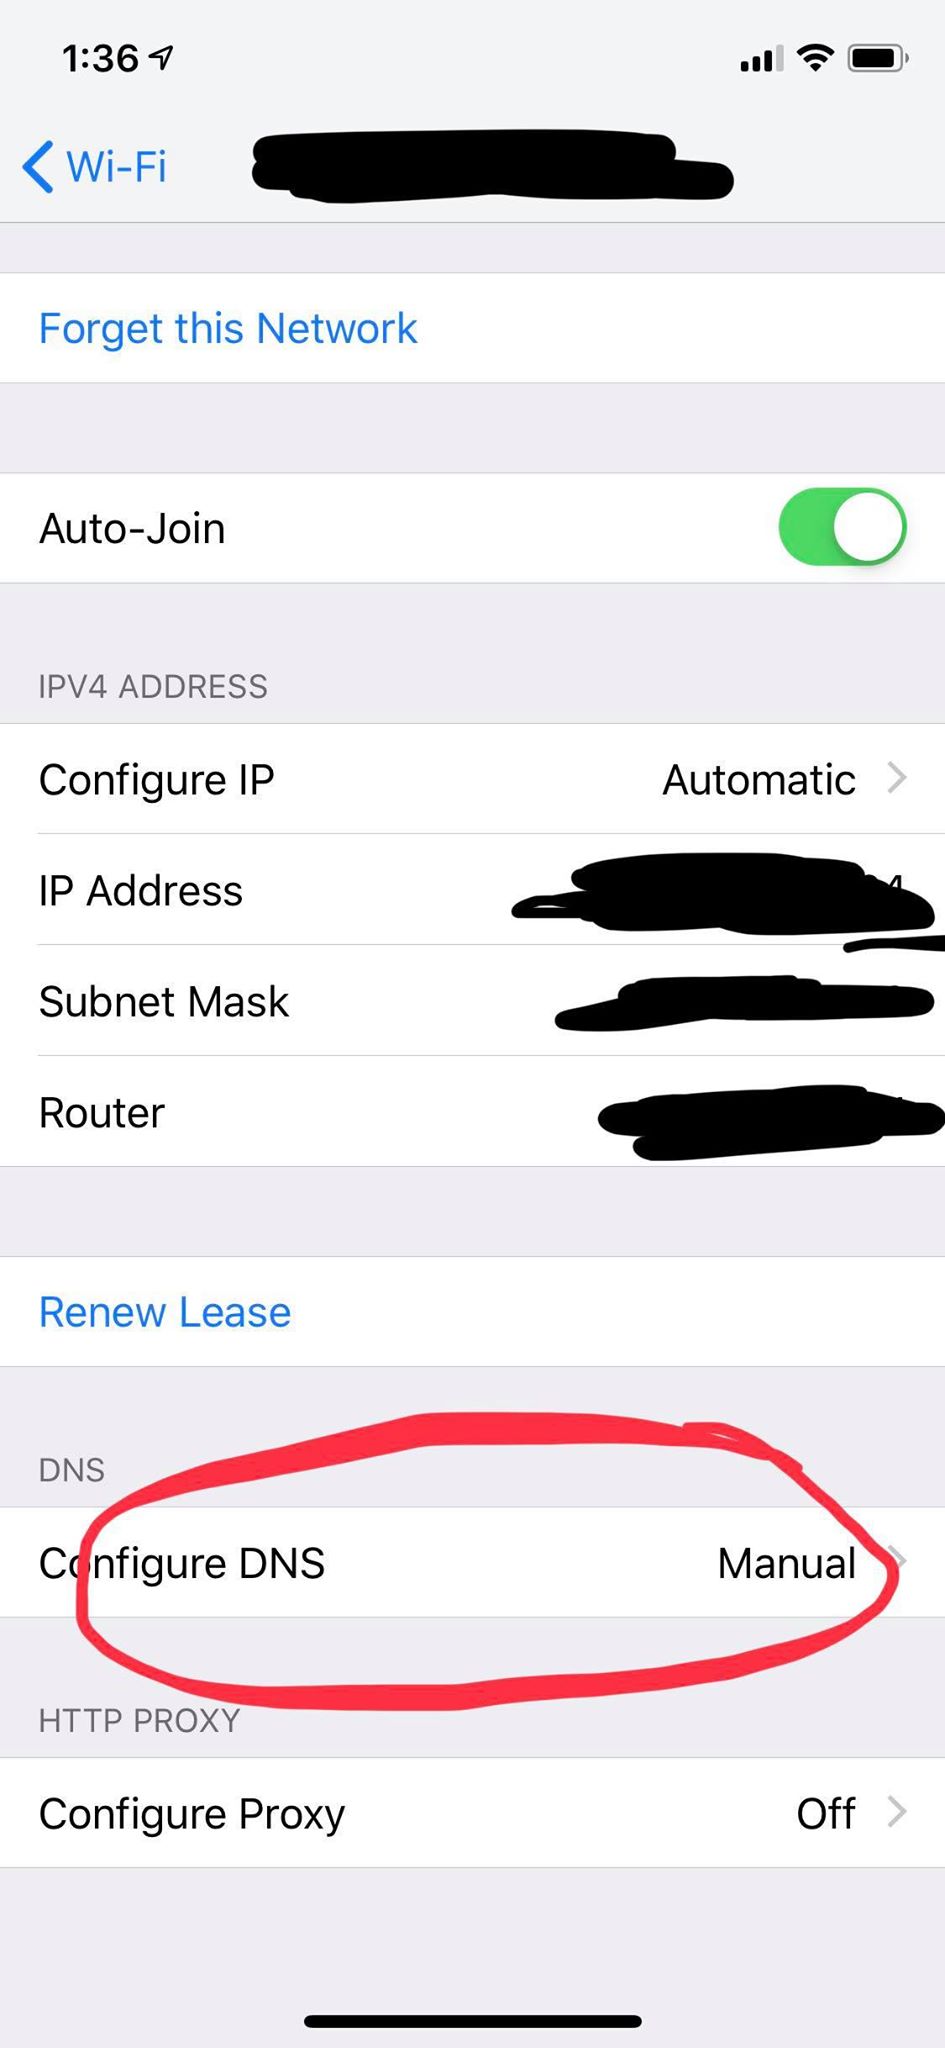
Switch the setting to be Manual and then remove all DNS servers that are added for your network. Add the static IP Address of your PiHole and click save:
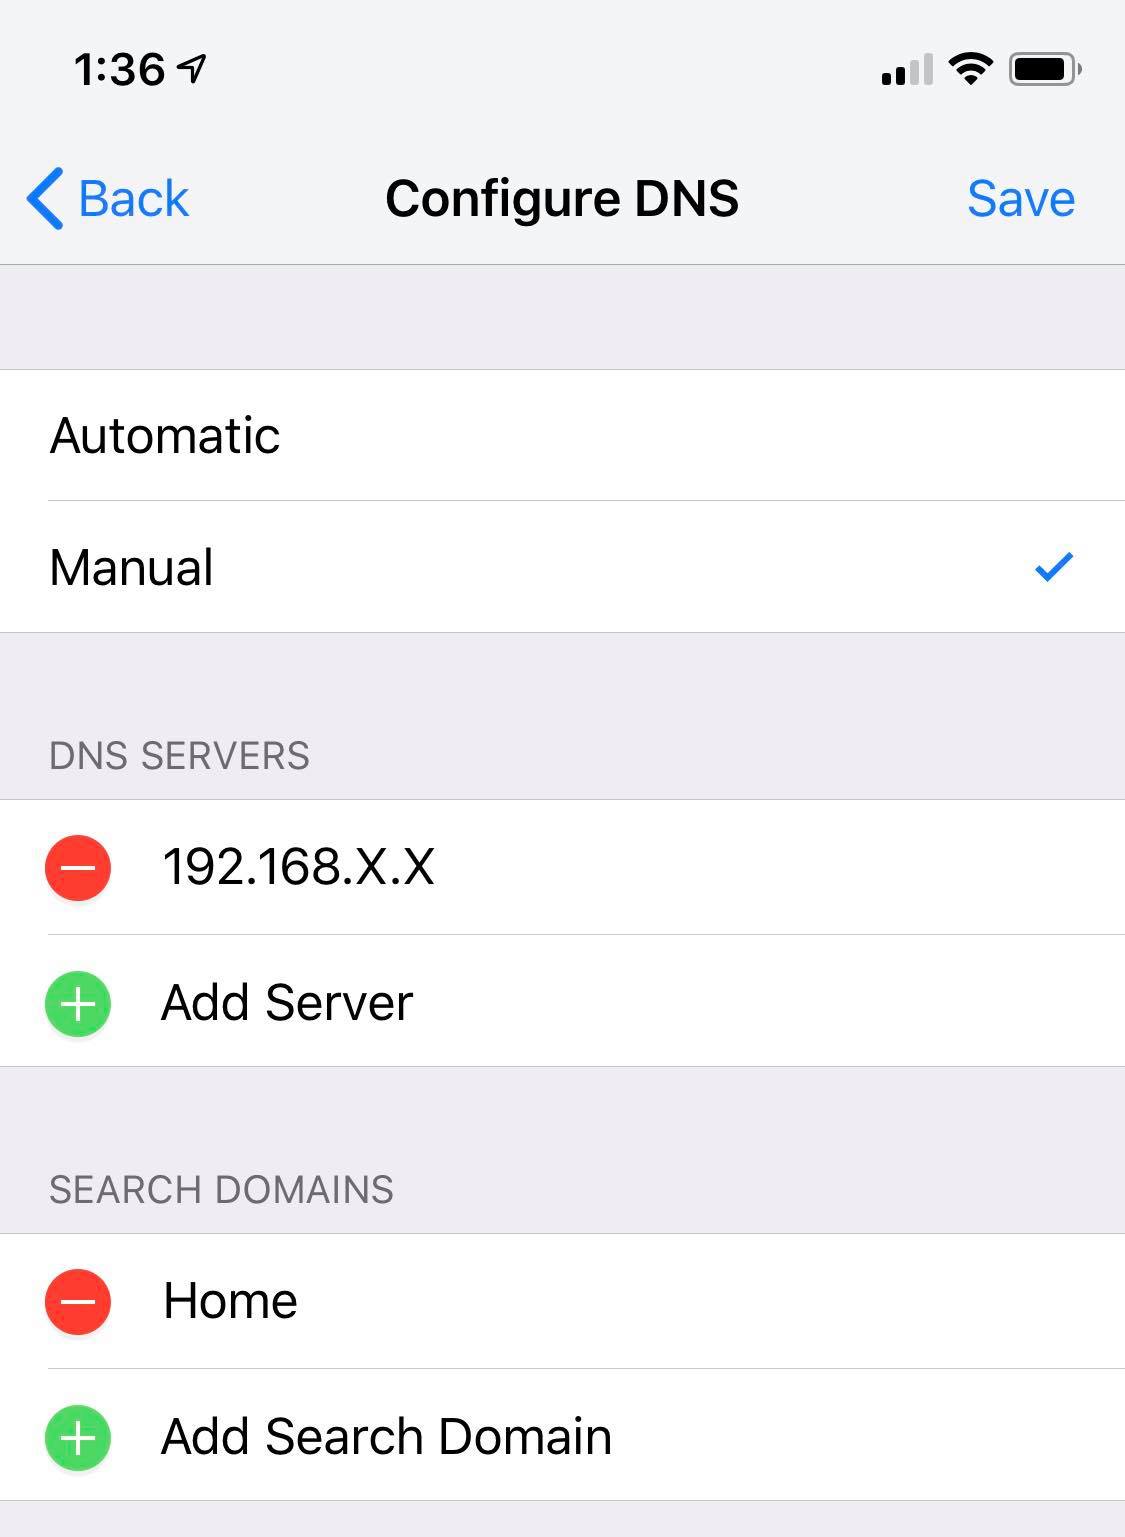
Hit Save and now refresh your browser/apps and you should now have an Ad free iPhone experience!
Updating DNS settings on your Android to use PiHole
Go to Settings -> Connections -> Wi-Fi -> Long Press your Network -> Manage network settings:
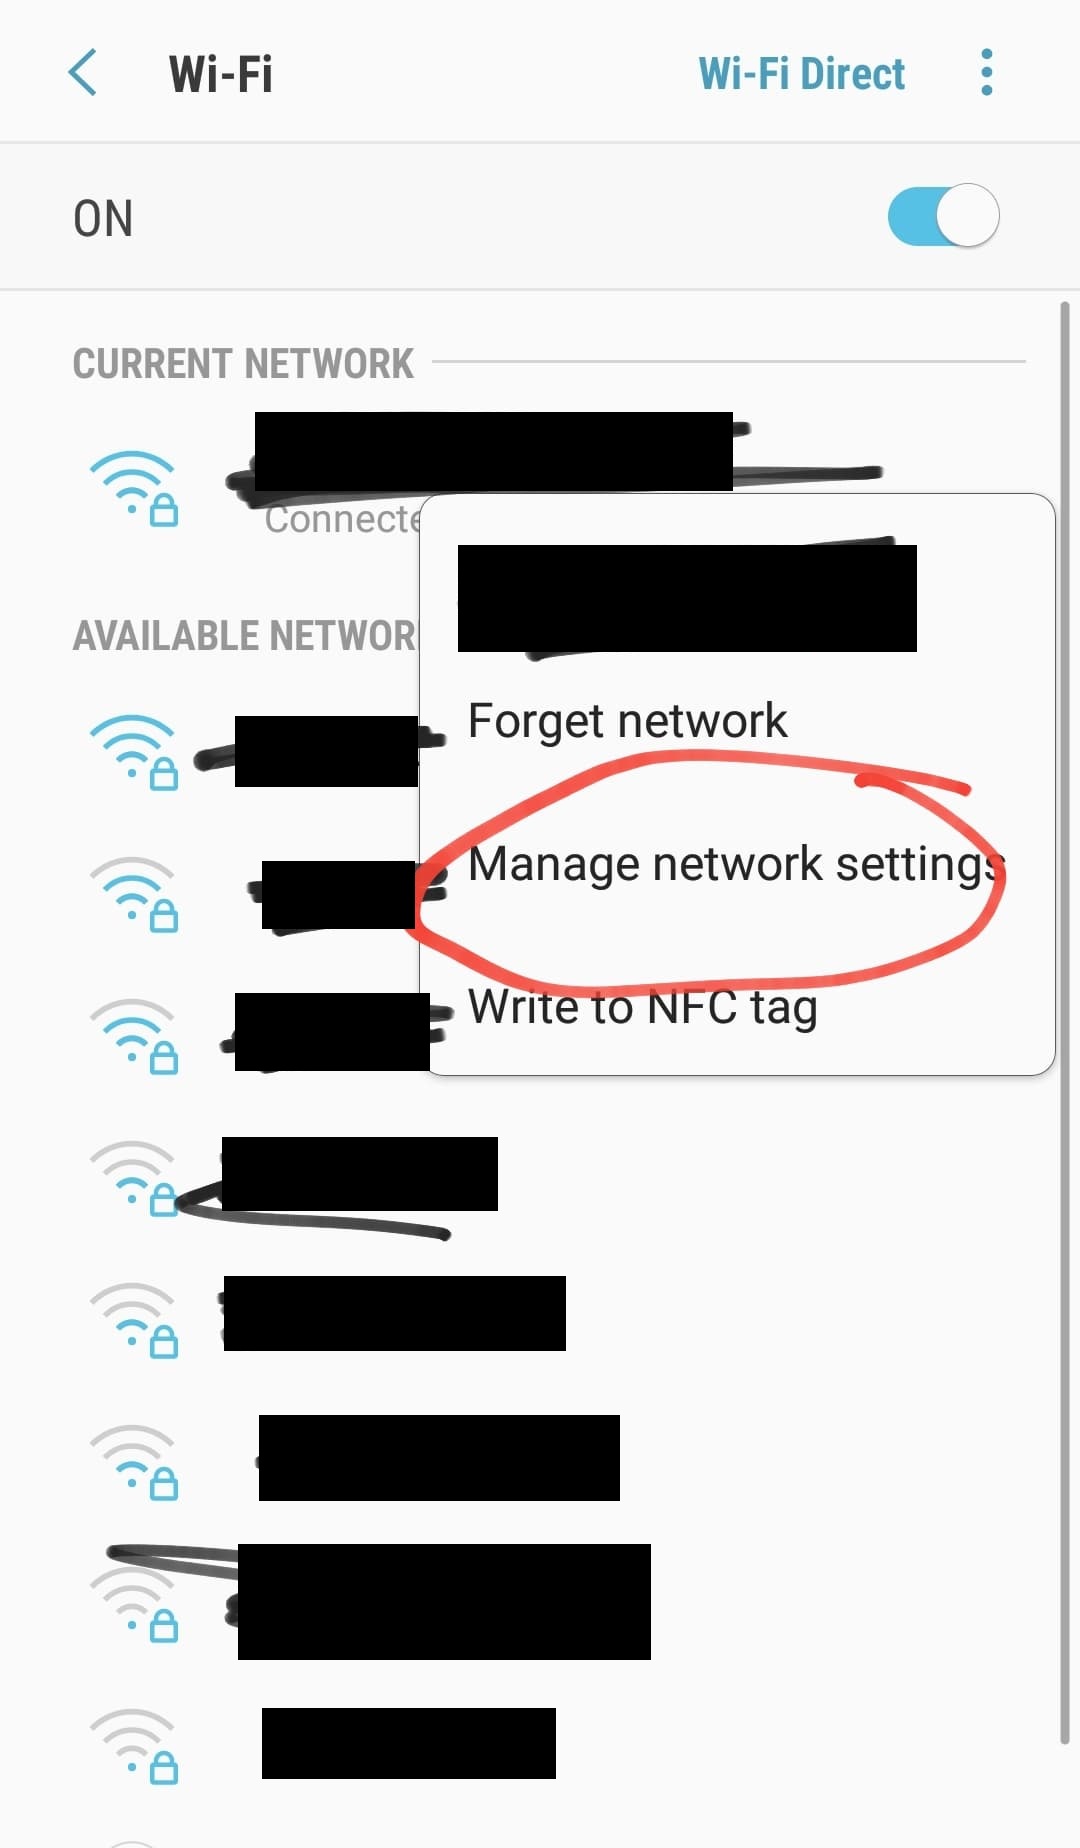
Check show advanced options then change IP settings to Static:
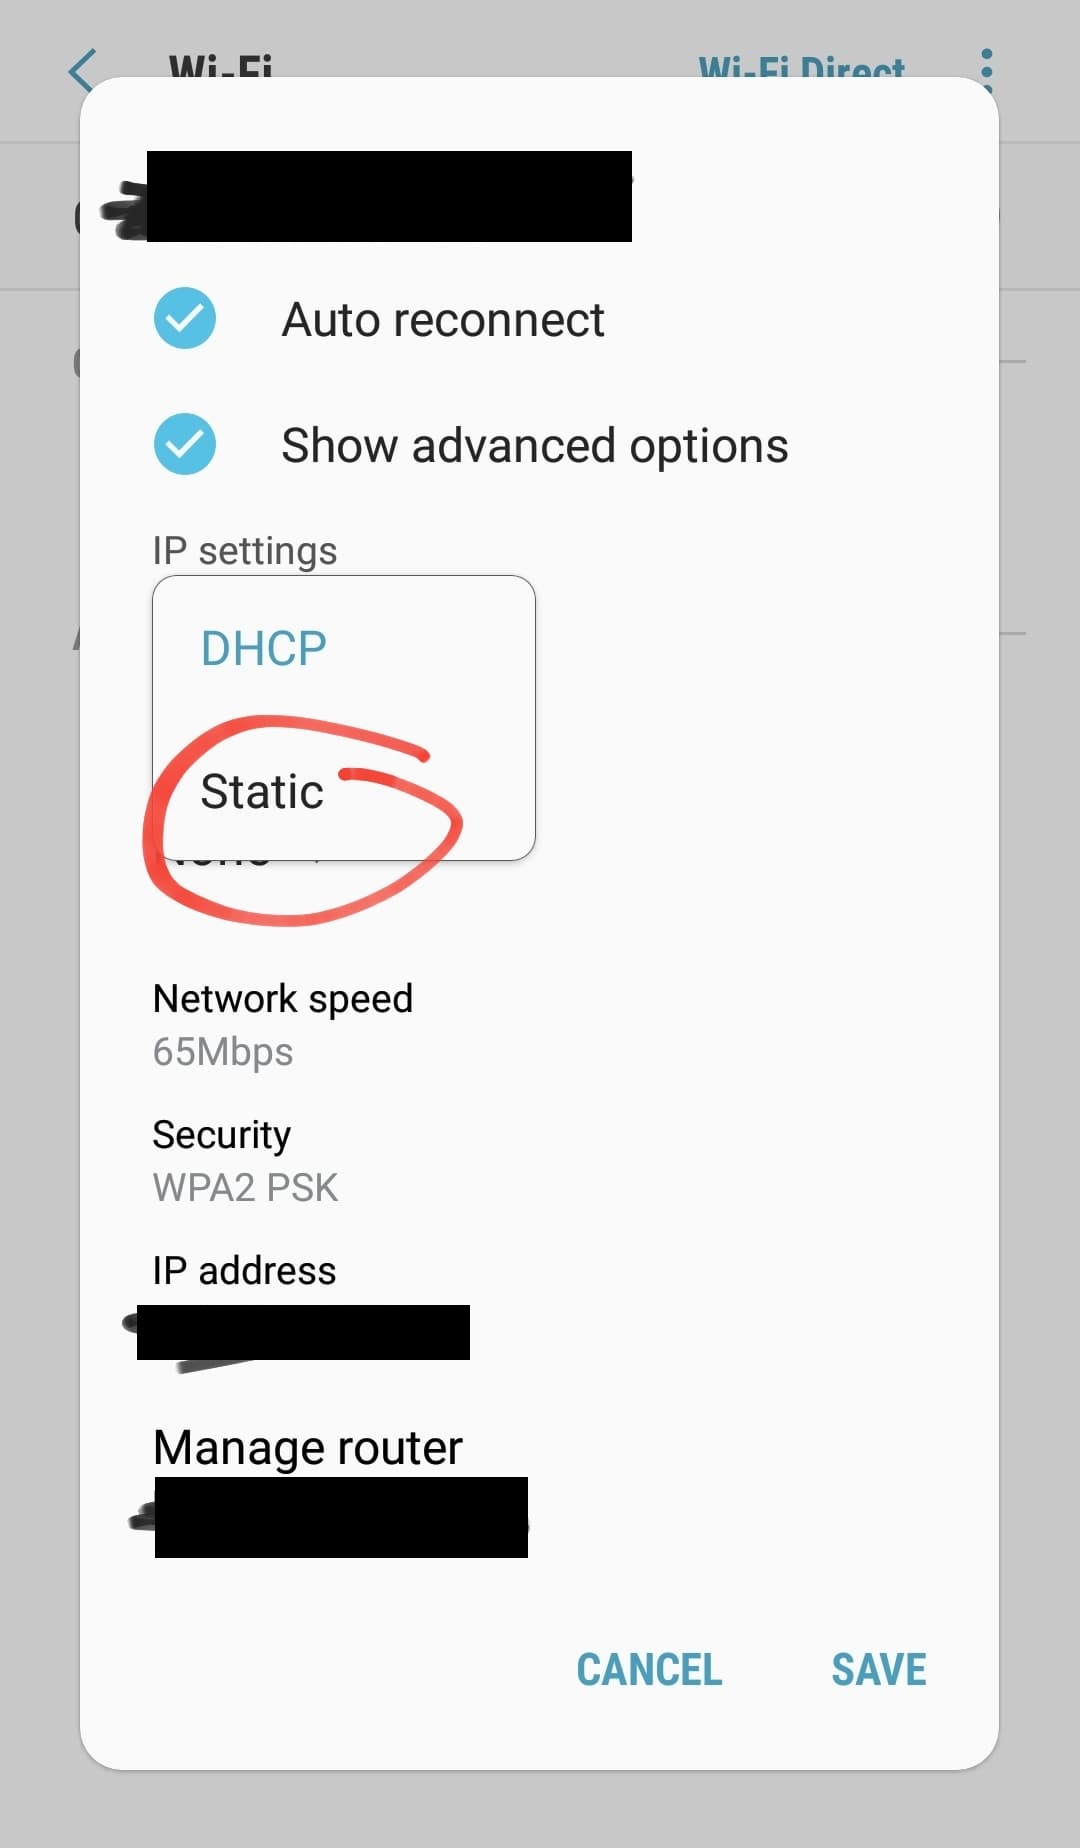
Enter your PiHole's IP address into DNS 1 and hit Save.
Now enjoy your ad free experience on your Android!
Updating Network wide settings to use PiHole
Since this varies a lot between routers, I won't be covering this. Look for another blog or update your DNS settings somewhere in your router to use your PiHole's IP address.
Thanks for reading!
